Friday, 22 January 2021

Cherry Bakewell Flapjacks

 If you love cherry bake wells, you'll love these flapjacks even more!

Sometimes you need a cherry Bakewell, and sometimes you need a gooey flapjack and I've brought you both as that's even better! The flavours of the almonds and cherries are what makes the Bakewell so more-ish and I just knew I could easily pair it in a flapjack. And what's not to love about a classic flapjack? The crumbliness of the oats and all that sweetness is why they make the perfect grab-and-go breakfast or an easy snack with a big mug of tea (or coffee, I'm so a coffee person these days). I can't do much more convincing other than say you need to try these, they are delicious!

Check out my flapjacks recipes for more inspiration!


Recipe

Prep: 10 minutes
Cook: 20 minutes
Serves: 12-15

NOTE: every ingredient I use is vegan so make sure you check your ingredients if you're following a Vegan lifestyle.

Ingredients

300g Porridge oats
90g Plain flour
75g Ground almonds
300g Butter, melted
1 tsp Vanilla extract
1 tsp Almond extract
6 tbsp Golden syrup
150g Cherries, halved -I used fresh or you can use glacé cherries
Icing
50g Icing sugar
2 tbsp Boiling water
Flaked almonds optional


Method

✿Preheat the oven to 180℃ and grease and line an 8x8cm baking tray with baking paper.
In a large bowl combine the oats, flour and ground almonds. Add the wet ingredients and mix everything together.
Spoon half of the batter into the baking tin and spread out evenly. Then place all of the halved cherries on top. Add the remains half batter from the bowl and smooth evenly on top of the cherries.
Sprinkle on a handful of flaked almonds if using and then place in the oven to bake for about 20 minutes until golden brown on top.
Once baked, remove from the oven and place on a cooling rack too cool a little. 
Meanwhile make the icing by mixing the icing sugar and boiling water together. Stir until you have the right consistency - if you want it thicker add more icing sugar and add more boiling water if you want it thinner although it will become transparent once it settles. 
Drizzle the icing on top of the cooled flapjacks, cut into squares (15 smaller or 12 larger) and serve. 
Best kept in an airtight container at room temperature up to a week. Enjoy!

Christina
xx

Share:

Thursday, 14 January 2021

Easy Vegan Egg Substitutes


One of the most common questions I get asked is "How do you replace eggs when you are baking?" There are always going to be obstacles when it comes to vegan baking but I make all of my recipes accessible and catered for hopefully everyone. So I wanted to give you the tools and information to make it easier for you when it comes to understanding what goes into my recipes and just how easy it is for egg-free/vegan baking whilst still getting amazing results. I've also described how to use them with some examples of recipes you can use them in. 

A general rule that I use (not sure if it's accurate) BUT

1 medium egg = 50-60g

Use the above to work out how much egg you need to replace the eggs (if using an existing recipe), alternatively if creating your own recipe it's all trial and error. So when I want to use banana or applesauce, I sometimes use that weight of the egg to know much to use if that makes sense. Bear in mind that not all egg substitutes will work in the same way as eggs - eggs not only add moisture to a recipe, but they act as a leavening agent encouraging bakes like cakes to rise and they bind ingredients together which is why sometimes chia/flax seeds work better. Without this in a recipe you have to add things like baking soda and apple cider vinegar. 

Also if a recipe calls for more than 3 eggs, there's a reason that recipe needs more eggs as it is probably reliant on the flavour which is hard to replicate.

Egg replacement Powders

✿Now in the UK the only egg replacements I have found have been Orgran No Egg and Vegan Hearts, both of which you can get in Holland and Barrett and probably in other health food shops. I haven't used this religiously as I like to experiment with other methods too much so I'm still learning the best way to use this. In my research however I have learnt that once you mix the powder with water (quantities on the packet) you leave it to sit for a few minutes to thicken before using it. Or you can even put it in a food processor/blender and whizz for about 30 seconds to make it lighter creating fluffier recipes.

HOW TO USE: using recommended quantities, mix powder with water and leave to sit
Example: Orgran No Egg suggests 3g egg replacement powder with 30ml water.

Recipes using egg replacer: Cinnamon Roll Blondies,  Lemon Meringue Pie, 

Pumpkin/Sweet Potato Purèe

✿I LOVE this replacement so much especially in brownies or with anything chocolatey as it really enhances the flavour and makes everything so gooey!

HOW TO USE: Measure how much purèe you need based on recommended weight mentioned above depending on the need for eggs in the recipe. Peel and chop your pumpkin/sweet potato and then steam for about 15-20 until soft and able to mash.
Place in a food processor and blitz until smooth and creamy. This is now ready to use. I have tried to use this by whisking together with sugar like you would an egg and I think it works. Give it a try.

Recipes using sweet potato/pumpkin: Chocolate Orange Brownies, Pumpkin Pancakes, Pumpkin Bread,


Chia Egg

✿A super healthy replacement, packed full of nutrients, chia seeds probably aren't expected when you think of eggs. However once they are mixed with a bit of water they form a gel which has an egg-like consistency forming a 'chia egg' an excellent substitution. I would recommend only using the 'chia egg' in darker bakes i.e chocolate cakes, cookies, etc as the seeds can be noticeable one baked. They're not the cheapest to buy, but if you're becoming a regular at vegan baking I would highly recommend investing.

HOW TO USE: 1 tbsp chia seeds + 3 tbsp water = chia egg, leave to form a gel for about 5-10 minutes then this is ready to use. 

Recipes using chia egg: Courgette, Pistachio and Lime Loaf Cake, Blueberry Pancakes,

Applesauce

✿I really enjoy using applesauce as it is a natural sweetener and its really good for added moisture. But it's important to use it according to what you would need the egg for. If the recipe calls for egg as a binder then you can use applesauce, but if the recipe calls for egg as a leavening agent to help something rise the applesauce won't work. It's also worth noting that it may alter the flavour of a recipe and if you use chunky applesauce you will be ale to see/taste chunks of apple in your recipe. 

HOW TO USE: Use straight from the jar or if making from scratch this is a good recipe to follow.

Recipes using applesauce: Bourbon Brownies, Fruit Tea Loaf Cake, 

Banana

✿Another brilliant substitute and one I've used a lot. It's important to remember that using bananas in recipes can alter the flavour, so I recommend to use it with bakes that will match the taste it brings - some of the best combinations to use it with are peanut butter, chocolate, fruits, nuts, so really there are lots of reasons to use it! 

HOW TO USE: depending on how much you need, usually ½ a banana = 1 egg. Simply mash the banana until no more lumps are visible, can also be put in a blender/food processor to speed this up.

Recipes using banana: Peanut butter banana blondies, Fudge Chocolate Chip Banana Bread, Banoffee Pie Cupcakes,


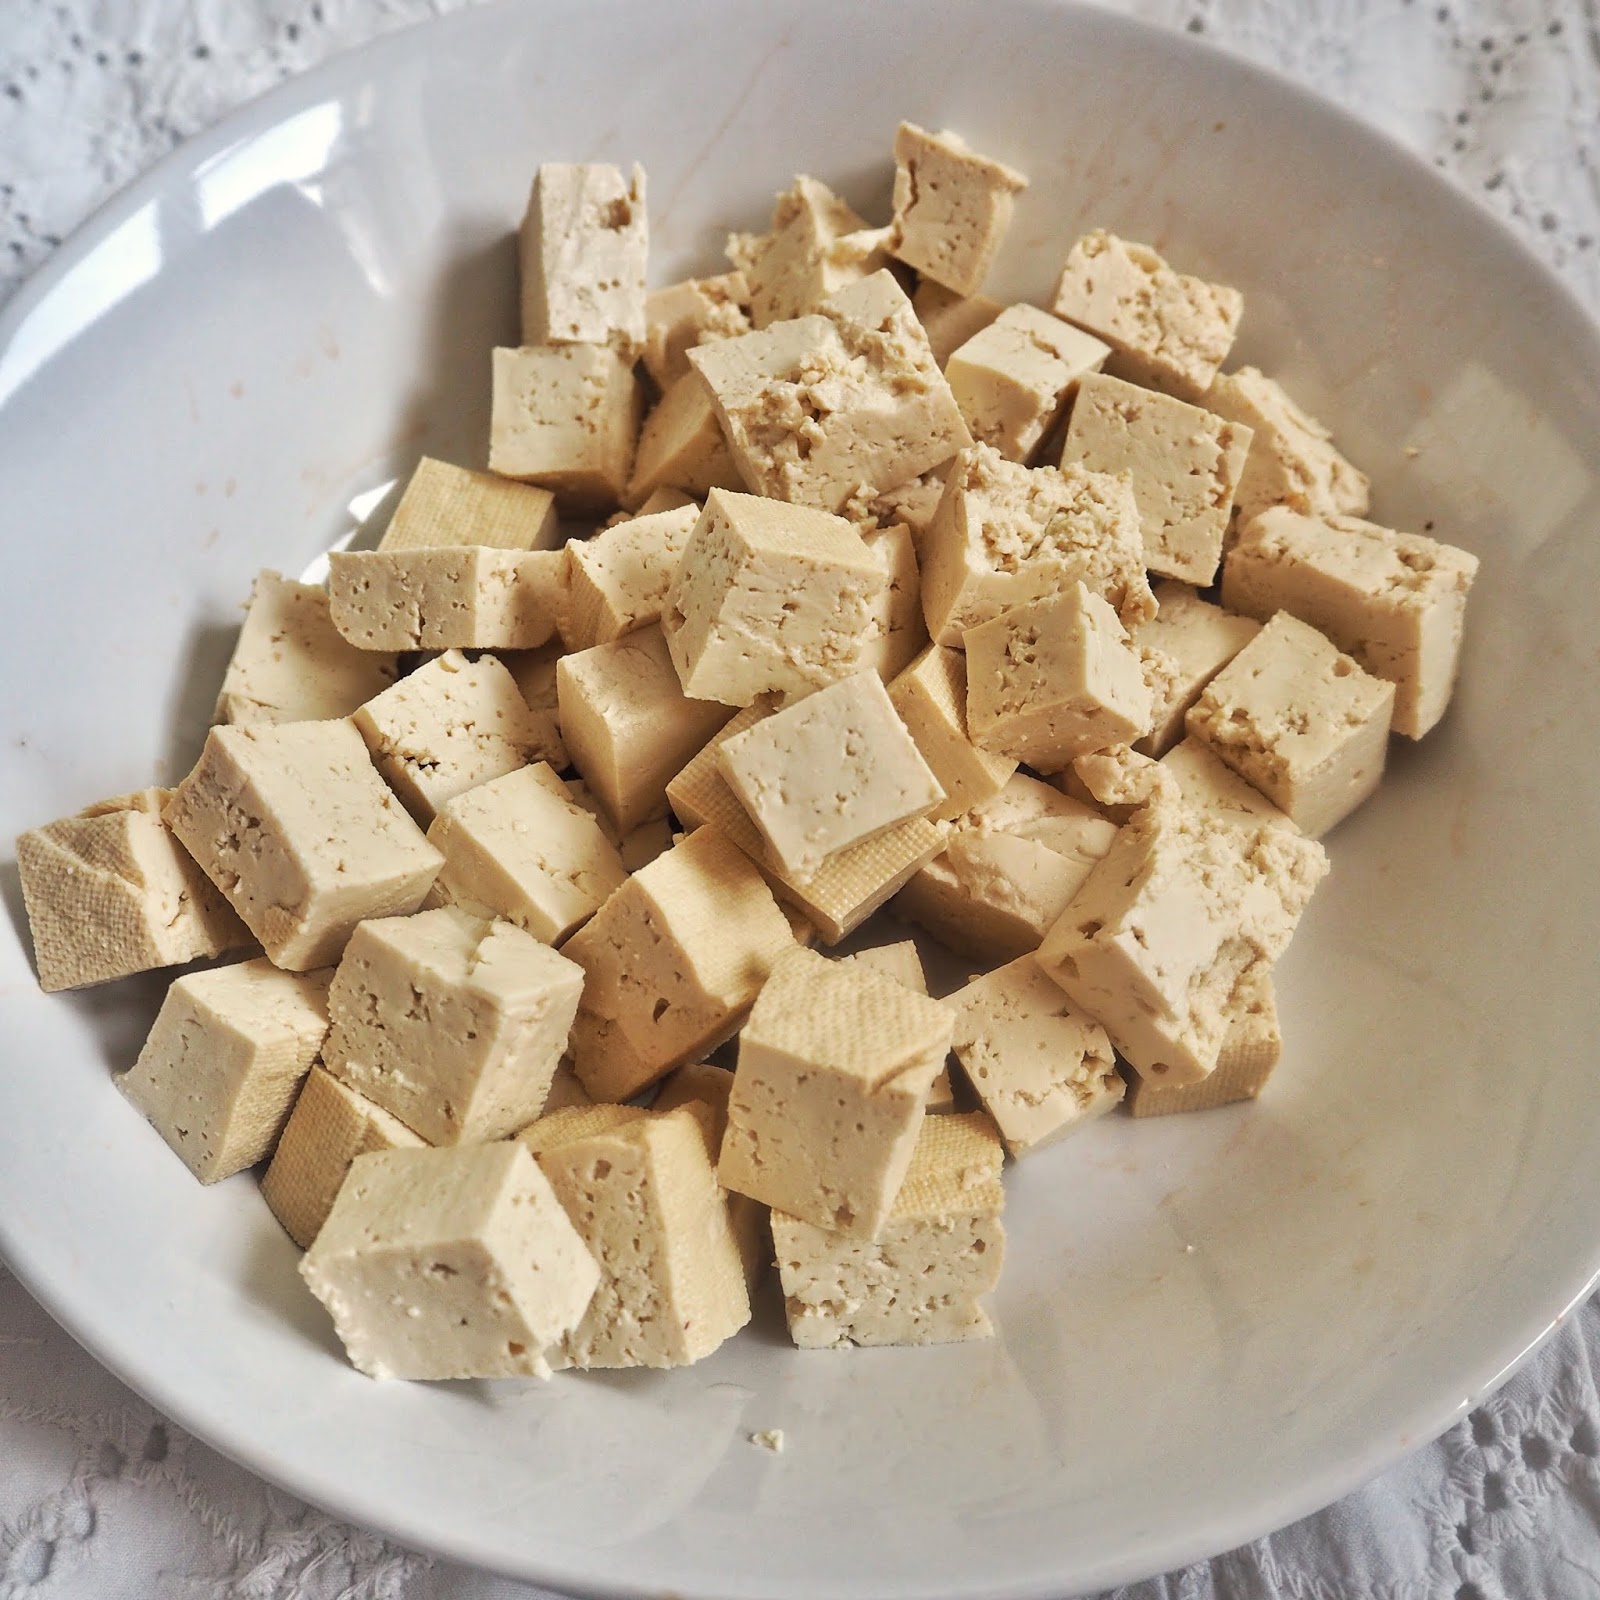
Tofu

✿The only time I have used tofu as an egg replacer was in a quiche and for scrambled "eggs" which you might have seen a lot. In terms of desserts, you'll want to use silken tofu, which creates a more dense, moist bake and works well in brownies, cheesecakes or even tarts. Again, tofu doesn't have any leavening properties so its only purpose will be to add moisture and especially in terms of cheesecakes/tarts, it is the main ingredient replacing both the 'cheese' and especially for baked cheesecakes where eggs would be used, tofu is the replacement.

HOW TO USE: For desserts, puree the silken tofu first in a blender/food processor then add to your mixture. 

Aquafaba

✿My first reaction to using aquafaba was not very optimistic. I too was confused about using the water from a can of chickpeas, but alas, it works wonders and I salute whoever first discovered the magic of it. Aquafaba can be used to replace meringues, macarons, ice-creams and mousses and there are many more ways to use it. Aquafaba is most definitely affordable and found in all supermarkets. I buy it every week because I am obsessed with experimenting with it and it encourages you to get creative!More recently I've found an interest in using it in brownies, especially when whisking it with the sugar it aerates the mixture creating the best brownie texture. 

HOW TO USE:  3tbsp AF = 1 whole egg

Recipes using aquafaba: Bakewell tart, Chocolate Coconut Macaroons, Biscoff Brownies, Wagon Wheels,


I really hope this has encouraged you to think outside the box when you start baking, there are so many ways to replace eggs and may even make your bakes even more delicious! So get your aprons on, mixers at the ready and start baking.


Christina
xx
Share:

Sunday, 10 January 2021

Biscoff Cookie Cups

Delicious chocolate chip cookie cups filled with a beautiful Biscoff buttercream!

Another cookie cup recipe for you as I loved the others so much I had to make them again. And of course, they had to have some sort of Biscoff addition didn't they. I was going to simple fill them with melted biscoff but I thought that was toooo easy, and Biscoff buttercream is my favourite. In fact, cookies with buttercream is highly underrated in my opinion. I've also realised I never took a photo of the inside of these cookies, but if you were to cut one open, you would see a thick cookie cup filled with buttercream and that image alone should entice you to bake these :)

Check out my other cookie recipes for more inspiration!

NOTE: every ingredient I use is vegan so make sure you check your ingredients if you're following a vegan lifestyle.


Recipe

Prep: 30 minutes
Cook: 10 minutes
Serves:
 
Double the recipe to make more of these cookie cups!

Ingredients

100g Caster sugar
150g Plain flour
1 tsp Vanilla extract
80g Butter melted
50g Chocolate Chips
Buttercream
3 tbsp Biscoff
100g Butter
300g Icing sugar
Biscoff biscuits
Biscoff spread melted

Method

✿Preheat the oven to 180℃ and grease a cupcake tin with a little oil or melted butter.
✿Place the sugar, vanilla and melted butter into a bowl and whisk together. Then add in the flour and mix until you have a dough-like consistency.
Lastly fold in the chocolate chips till evenly combined.
Take a couple of tablespoons of the dough and press into one of the cupcake holes to make a cup shape and make sure to make a hole in the middle. This can be quite messy and I spent time making the cups look neat but it is up to you how you want them to look in the end.
Place into the oven to bake for 9-10 minutes or until golden brown. TIP: don't over bake as when set they will be quite hard and they are best when chewy.
Once baked remove from the oven and leave to cool completely in the tins before removing.
Meanwhile make the buttercream. Beat the butter in a mixing bowl until smooth and creamy. Add the icing sugar gradually and mix together until combined, add more sugar if you like it really sweet. 
Then add the Biscoff and mix until combined evenly. Spoon into a piping bag ready to pipe into the cookie cups.
When the cookie cups are completely cool, spoon a bit of melted Biscoff into the bottom of the cookie cup and then pipe the buttercream into each cookie cup or spoon into it. I melted a little more Biscoff and drizzled this on top of each cookie cup too and even crumbled some Biscoff biscuits on top. 
Place in the fridge to firm the buttercream about 30 minutes-1 hour and then remove when ready to serve. Keep stored in an airtight container to keep them soft. Best eaten within a couple of days. Enjoy!

Christina
xx


Share:

Hot Chocolate Cookie Cups

Little cups of hot chocolate in the form of cookies!

I loved making these little cookie cups! I had seen the idea of a cookie cup on Pinterest where I get a lot of my inspiration from and then the idea for hot chocolate just came to me. What with it being winter and all, the most desirable hot beverage most of us crave is a big mug of hot chocolate and if I had some I would top mine with a big squirt of whipped cream and lots of marshmallows :) So yeah that was the inspiration, but these are little bites of that warmth you get and I know you will love them. The candy canes are optional but they make cut handles or you could use pretzels or get creative :)

Check out my other cookie recipes for more inspiration!


Recipe

Prep: 30 minutes
Cook: 10 minutes
Serves: 8 cookie cups

NOTE: every ingredient I use is vegan so make sure you check your ingredients if you're following a Vegan lifestyle.

Ingredients

100g Caster sugar
150g Plain flour
1 tsp Vanilla extract
80g Butter melted
50g Chocolate Chips
1020g Chocolate melted
40 Mini marshmallows
Mini candy canes optional

Method

✿Preheat the oven to 180℃ and grease a cupcake tin with a little oil or melted butter.
Place the sugar, vanilla and melted butter into a bowl and whisk together. Then add in the flour and mix until you have a dough-like consistency.
Lastly fold in the chocolate chips till evenly combined.
Take a couple of tablespoons of the dough and press into one of the cupcake holes to make a cup shape and make sure to make a hole in the middle. This can be quite messy and I spent time making the cups look neat but it is up to you how you want them to look in the end.
Place into the oven to bake for 9-10 minutes or until golden brown. 
Once baked remove from the oven and leave to cool completely in the tins before removing.
Whilst the cookies are cooling melt the chocolate in the microwave in 30 second intervals, stirring inbetween to make sure it is smooth. 
Once the cookie cups are cool, spoon out 2-3 tbsp of the chocolate into each cups and then top each one with 5 mini marshmallows. Dip both ends of the candy cane into some chocolate and attach on the side of each cup to look like a handle - you might just have to hook it on if it won't stick!
Place the cookie cups in the fridge to set for about 1 hour then you can place them in an airtight container at rom temperature. Keep them covered so they don't harden or stale. Enjoy! 

Christina
xx

Share:

Peanut Butter & Jam Porridge

Peanut butter with jam in your morning porridge makes the day a little brighter!

So here's the catch with this recipe, I didn't actually use any jam in the porridge. But don't worry there is a 'jam' element. I actually used Alpro's Greek Style Yoghurt in raspberry as it has this gorgeous thick jammy part at the bottom of the pot which I thought was just perfect to go into porridge. Because the yoghurt is layered nicely, I used the creamy white part on top to stir into the porridge to cook and then the jam part at the bottom I dolloped on top - it works wonders! Then the beautiful addition of peanut butter alongside it is a harmonious duo and to be honest, I didn't want this porridge to end. If you can't get your hands on the Alpro yoghurt, you could try a different raspberry one though I am not sure what other brands will layer their yoghurts quiet the same. Alternatively, use jam on top and some yoghurt mixed through to give it that thick creamy texture :)

Check out my other porridge recipes for more inspiration!

Recipe

Prep: 5 minutes
Cook: 3-4 minutes
Serves: 1

NOTE: every ingredient I use is vegan so make sure you check your ingredients if you're following a Vegan lifestyle.

Ingredients

40g Porridge oats
1 tbsp Chia seeds
150ml Soya milk
1 heaped tbsp Peanut butter
Raspberries and other fruit to top


Method

✿Place the porridge oats, chia seeds and soya milk in a bowl and cook in the microwave for 3-4 minutes until cooked, making sure to stir half way. 
Once cooked, spoon out the top layer of the Alpro yoghurt - you will see the jammy part at the bottom leave that there just the yoghurt part - and stir it through the cooked porridge so it is nice and creamy. 
Then top the porridge with the jammy part of the yoghurt (see photos) and with the peanut butter. Finally add the raspberries or any fruit you like on top and serve. Enjoy!

Christina 
xx

Share:

Thursday, 7 January 2021

Vegan Funfetti Party Ring Cake

This cake is full of sprinkles and party rings making it the perfect celebration cake!


Anything that has sprinkles and party rings is my kind of cake. They bring so much colour and joy to the cake just like a little party with every bite I think :) This cake is a simple vanilla sponge filled with multi-coloured sprinkles and a delicious fluffy vanilla buttercream all topped with lots of yummy party rings! If party rings weren't vegan I don't know what I'd do! Feel free to add your other favourite biscuits on top, in fact that has given me inspiration to make a cake adorn with the best British biscuits how much fun could that be?! You could also change the sprinkles up a little if you need, there's lots of varieties out there juts make sure to choose some that would show through the sponge for that pop of colour :)

Check out my other cake recipes for more inspiration!


NOTE: every ingredient I use is vegan so make sure you check your ingredients if you're following a Vegan lifestyle.

Recipe

Prep: 10 minutes
Cook: 20 minutes
Serves: 8

Ingredients

Cake
330g Self-raising flour
300g Caster sugar
1 tsp Baking soda
1 tsp Salt
1 tsp Vanilla extract 
355ml soya milk + 1 1/2 tbsp apple cider vinegar
120g Butter melted
80g Sprinkles
Buttercream 
300g Butter
2 tsp Vanilla extract
500-600g Icing sugar
2 tbsp Soya milk
Sprinkles to decorate optional
Party rings

Method

✿Preheat the oven to 180℃ and grease and line x3 6 inch cake tins with baking paper.
In a small bowl mix together the soya milk with the ACV and leave to sit for 5 minutes to curdle to become a 'buttermilk'. Melt the butter in the microwave until melted and leave to cool.
In a large mixing bowl, add the flour, sugar, baking soda, salt and sprinkles and mix.
Make a well in the middle and then pour in the 'buttermilk', melted butter and vanilla. Whisk together till evenly combined then separate the batter evenly into the prepared cake tins.
Bake in the oven for about 20 minutes until a knife inserted comes out clean. Leave to cool in the cake tins and then remove onto a cooling rack.
Meanwhile make the buttercream. Beat the butter until smooth and creamy for about 5 minutes. Then gradually add the icing sugar in stages, mixing in-between each stage. Make sure to always scrape in and around the bowl to catch all of the butter and icing sugar especially at the bottom. 
Once all of the icing sugar has been added, add the vanilla and mix. It is optional to add the soya milk but it creates a looser consistency which is easier to spread.
To assemble the cakes, place one cake layer on a plate or cake board and spread a thin layer of buttercream on the top. I like to pipe a ring of buttercream around the outside as well to create some height but if you don't have piping bags you can spread on a thicker layer. 
Add some sprinkles in the middle and then repeat the process with the remaining cake layers but don't add sprinkles on the final layer.
Spread more buttercream around the cake for the crumb coat and then chill in the fridge for about 1 hour till firm to touch.
Once it has set, add the remaining buttercream to create a smooth finish, saving some to pipe on top if you wish. Add the sprinkles around the bottom and then the party rings on top.
Place in the fridge to keep firm until ready to serve. Enjoy!

Christina 
xx
Share:

Monday, 4 January 2021

Festive White Chocolate Rocky Road - No Bake!

 An easy no-bake recipe full of all flavours of Christmas!

When a recipe requires you to not do any baking it can be quite a relief. Which is why every now and then a recipe like this rocky road is super easy for when Christmas time becomes a little manic, because let's face it, it does but we still love it! Another rocky road ensemble, incasing some more mini gingerbread men that has become a new favourite find and I'll be using them next year to no doubt. Not only gingerbread but there's also pistachios, cranberries, marshmallows and of course some very delicious white chocolate. You can definitely swap out the white chocolate for milk or dark or half and half, I used all white as it looked more Christmassy. The sprinkles are optional but add those festive colours, my favourite :)

Check out my other rocky road recipes for more inspiration!


Recipe

Prep: 10 minutes + 2 hours chilling time
Cook: n/a 
Serves: 12 large squares or 16 smaller squares

NOTE: every ingredient I use is vegan so make sure you check your ingredients if you're following a Vegan lifestyle.

Ingredients

450g White chocolate
100g Mini marshmallows
75g Pistachios without skins roughly chopped
75g Dried cranberries
150g Mini gingerbread men or gingersnap biscuits roughly chopped and 7 not chopped
1 tsp Coconut oil
Christmas sprinkles optional 


Method

✿Melt the chocolate and coconut oil in the microwave in 20 second intervals until fully melted making sure to stir in-between.
In a large mixing bowl add the rest of the ingredients except the 7 gingerbread men, and then pour over the white chocolate. Mix everything together so that the chocolate is covering the ingredients then spoon the mixture into a lined 8x8 baking tray. Place the other gingerbread men on top in random places and then add the sprinkles all over. 
Place in the fridge for a minimum of 2 hours to set completely then use a hot knife to cut into squares. Best kept in airtight container in the fridge. Enjoy!

Christina
xx
Share:

Friday, 1 January 2021

Vegan Winter Wonderland Coconut White Chocolate Layer Cake

A white chocolate and coconut filled cake perfectly decorated for a magical winter!

This is by far one of my favourite cakes to have decorated. Yes the flavour was immensely satisfying, can't beat coconut with white chocolate. But to make it look all snowy and wintry was so much fun I felt like I wanted to travel to Lapland and immerse myself with reindeer and drink hot chocolate! I got the idea for the snow-covered Christmas trees on Pinterest and used upside down ice-cream cones. Whoever thought of the idea is a genius as I think it really looks wonderful. It's very simple to do, simply pipe buttercream in small stars and leave room for the tip so you can use that to place on the cake. I covered my trees in a little edible glitter too to give it a sparkly finish. 

Check out my other cakes for more inspiration!


NOTE: EVERY INGREDIENT I USE IS VEGAN SO MAKE SURE YOU CHECK YOUR INGREDIENTS IF YOU'RE FOLLOWING A VEGAN LIFESTYLE.


Recipe

Prep: 15 minutes 
Cook: 20-25 minutes
Serves: 8

Ingredients

Cake
320g Self-raising flour
2 tbsp Cornflour
1 tsp Baking soda
1/2 tsp salt
355g Caster sugar
170g Butter melted
350ml Coconut milk from a carton + 2 tsp Apple Cider Vinegar
1 tsp Vanilla extract
1 tsp Coconut extract
Buttercream
300g Butter
200g White chocolate
500g Icing sugar
3 tbsp Soya milk
Toppings
Shredded coconut for outside of cake
70g Desiccated coconut for in-between cake layers
Homemade white chocolate truffles get the recipe here
Ice-cream cones x4 optional

Method

✿Preheat the oven to 180c and grease and line x3 6inch cake pans with baking paper. 
In a jug, mix together the coconut milk and apple cider vinegar and leave to sit about 5 minutes.
In a large bowl, add the flour, cornflour, baking soda, salt and sugar and whisk well to combine. 
To the bowl with the dry ingredients, pour in the wet ingredients  and mix with a large spoon until just combined, but be careful not to over mix the batter or your cake won't be soft and fluffy.
Pour into prepared pans and bake for 20-25 minutes, until a knife inserted comes out clean.
Let the cakes cool in the pan for 10 minutes, then carefully remove them and place on a cooling rack. Allow the cakes to cool completely before spreading on the buttercream.
Meanwhile make the buttercream. Melt the white chocolate in the microwave or in a bain-marie then leave to cool. 
Using an electric mixer or standing mixer, beat the butter until smooth and no lumps are visible, making sure to scrape down the sides of the bowl occasionally. 
Gradually add in the icing sugar and mix together till combined again always scrape around the sides to collect missed butter at the bottom. 
Pour in the white chocolate and mix and then add the soya milk last and mix together. Add more milk for a looser consistency. 
To assemble the cakes, place one layer on a cake board or plate and spread a little buttercream on top. I also pipe a ring of buttercream around the outside of the cake to give it some height but this is optional. Sprinkle half of the desiccated coconut in the middle then repeat  the process with the remaining cake layers. 
Cover the cake with buttercream - a crumb coat first then the final layer - and then decorate with the shredded coconut and buttercream tree cones. To make the white chocolate truffles, follow this recipe it's super easy!
Place in the fridge to set about an hour before serving. Best kept in the fridge up to a week. Enjoy!

Christina
xx


Share:
© Christina Cullen | All rights reserved.
Blog Layout Created by pipdig